Close
Skip to content

Why Choose Luminite for Flexographic Printing?

On this page, we will discuss not only Luminite’s production process, but their maintenance, tech support, and approach to meeting industry standards.

In a Rush?

Take this page with you! Download a copy now to look over whenever you’re ready.

On this page, we will discuss not only Luminite’s production process, but their maintenance, tech support, and approach to meeting industry standards.

In a Rush?

Take this page with you! Download a copy now to look over whenever you’re ready.

Luminite: Your Flexographic Print Sleeve Provider

Product packaging needs to be created quickly and visually appealing. A flexographic printing company needs reliable sleeves to be able to recreate the same packaging numerous times with the same quality.

A flexographic image carrier is the one to rely on both for the creation of those sleeves and the answers when defects occur. Because so much is riding on your sleeve quality, it is not the most effective process to create a partnership with the first company you find.

Luminite offers a continuous print solution using materials made in the USA and manufactured in the USA as well. Avoid snags with customs and shipping delays in the overseas pipeline by working with a manufacturer that keeps sourcing and production close to home.

Flexographic printing companies use elastomer and photopolymer sleeves for effective printing on various substrates. With different inks and substrates used on different products, flexo-printing defects can occur. Testing by the image carrier can be an effective way to avoid downtime and improve print quality.

We here at Luminite are the best choice to supply your flexo printing sleeves, as we offer over 90 years of experience, as well as guidance to help you address defects as they arise in your print runs.

The Flexography Process: A Look at Luminite Production

The process of production at Luminite is carefully designed to provide quality sleeves that will facilitate quality printing. We at Luminite take pride in our work, and we follow this multi-step process to ensure our customers receive the best quality sleeve for your printing needs.
The 13-step process ensures the sleeve is ready for ink:
  1. Receiving / Incoming Inspection
  2. Base Preparation
  3. Rubber Wrap
  4. Autoclave / Vulcanization
  5. Rough Grind
  6. Trim
  7. Finish Grind
  8. Polishing
  9. Laser Engraving
  10. Print Proof
  11. Final Clean-up
  12. Final Inspection
  13. Shipping

STEP 1: RECEIVING / INCOMING INSPECTION

All new and used sleeves, integral shafts, demounts, and narrow web units that come into Luminite are carefully inspected to check that the specifications on bearing journals, bores, gears, etc. are within tolerance before going into production.

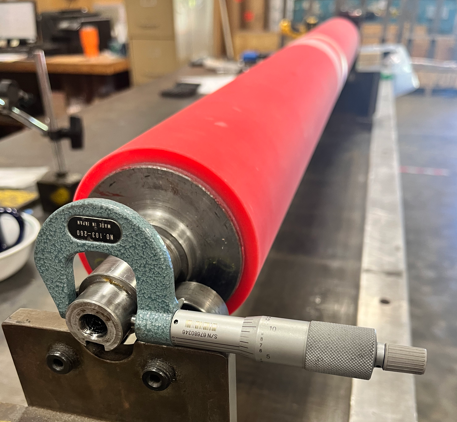
Anything found out of tolerance is presented to the customer for repair or replacement options.

Luminite’s internal engineering staff is well-equipped to provide a solution to any out-of-tolerance condition.

STEP 2: BASE PREPARATION

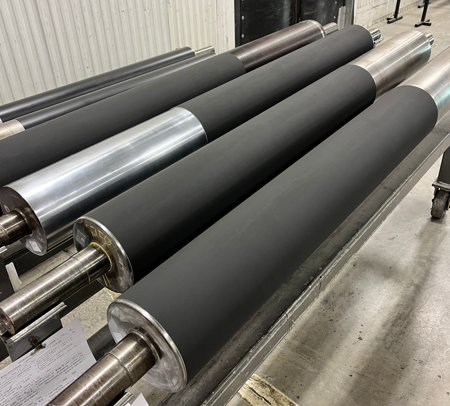
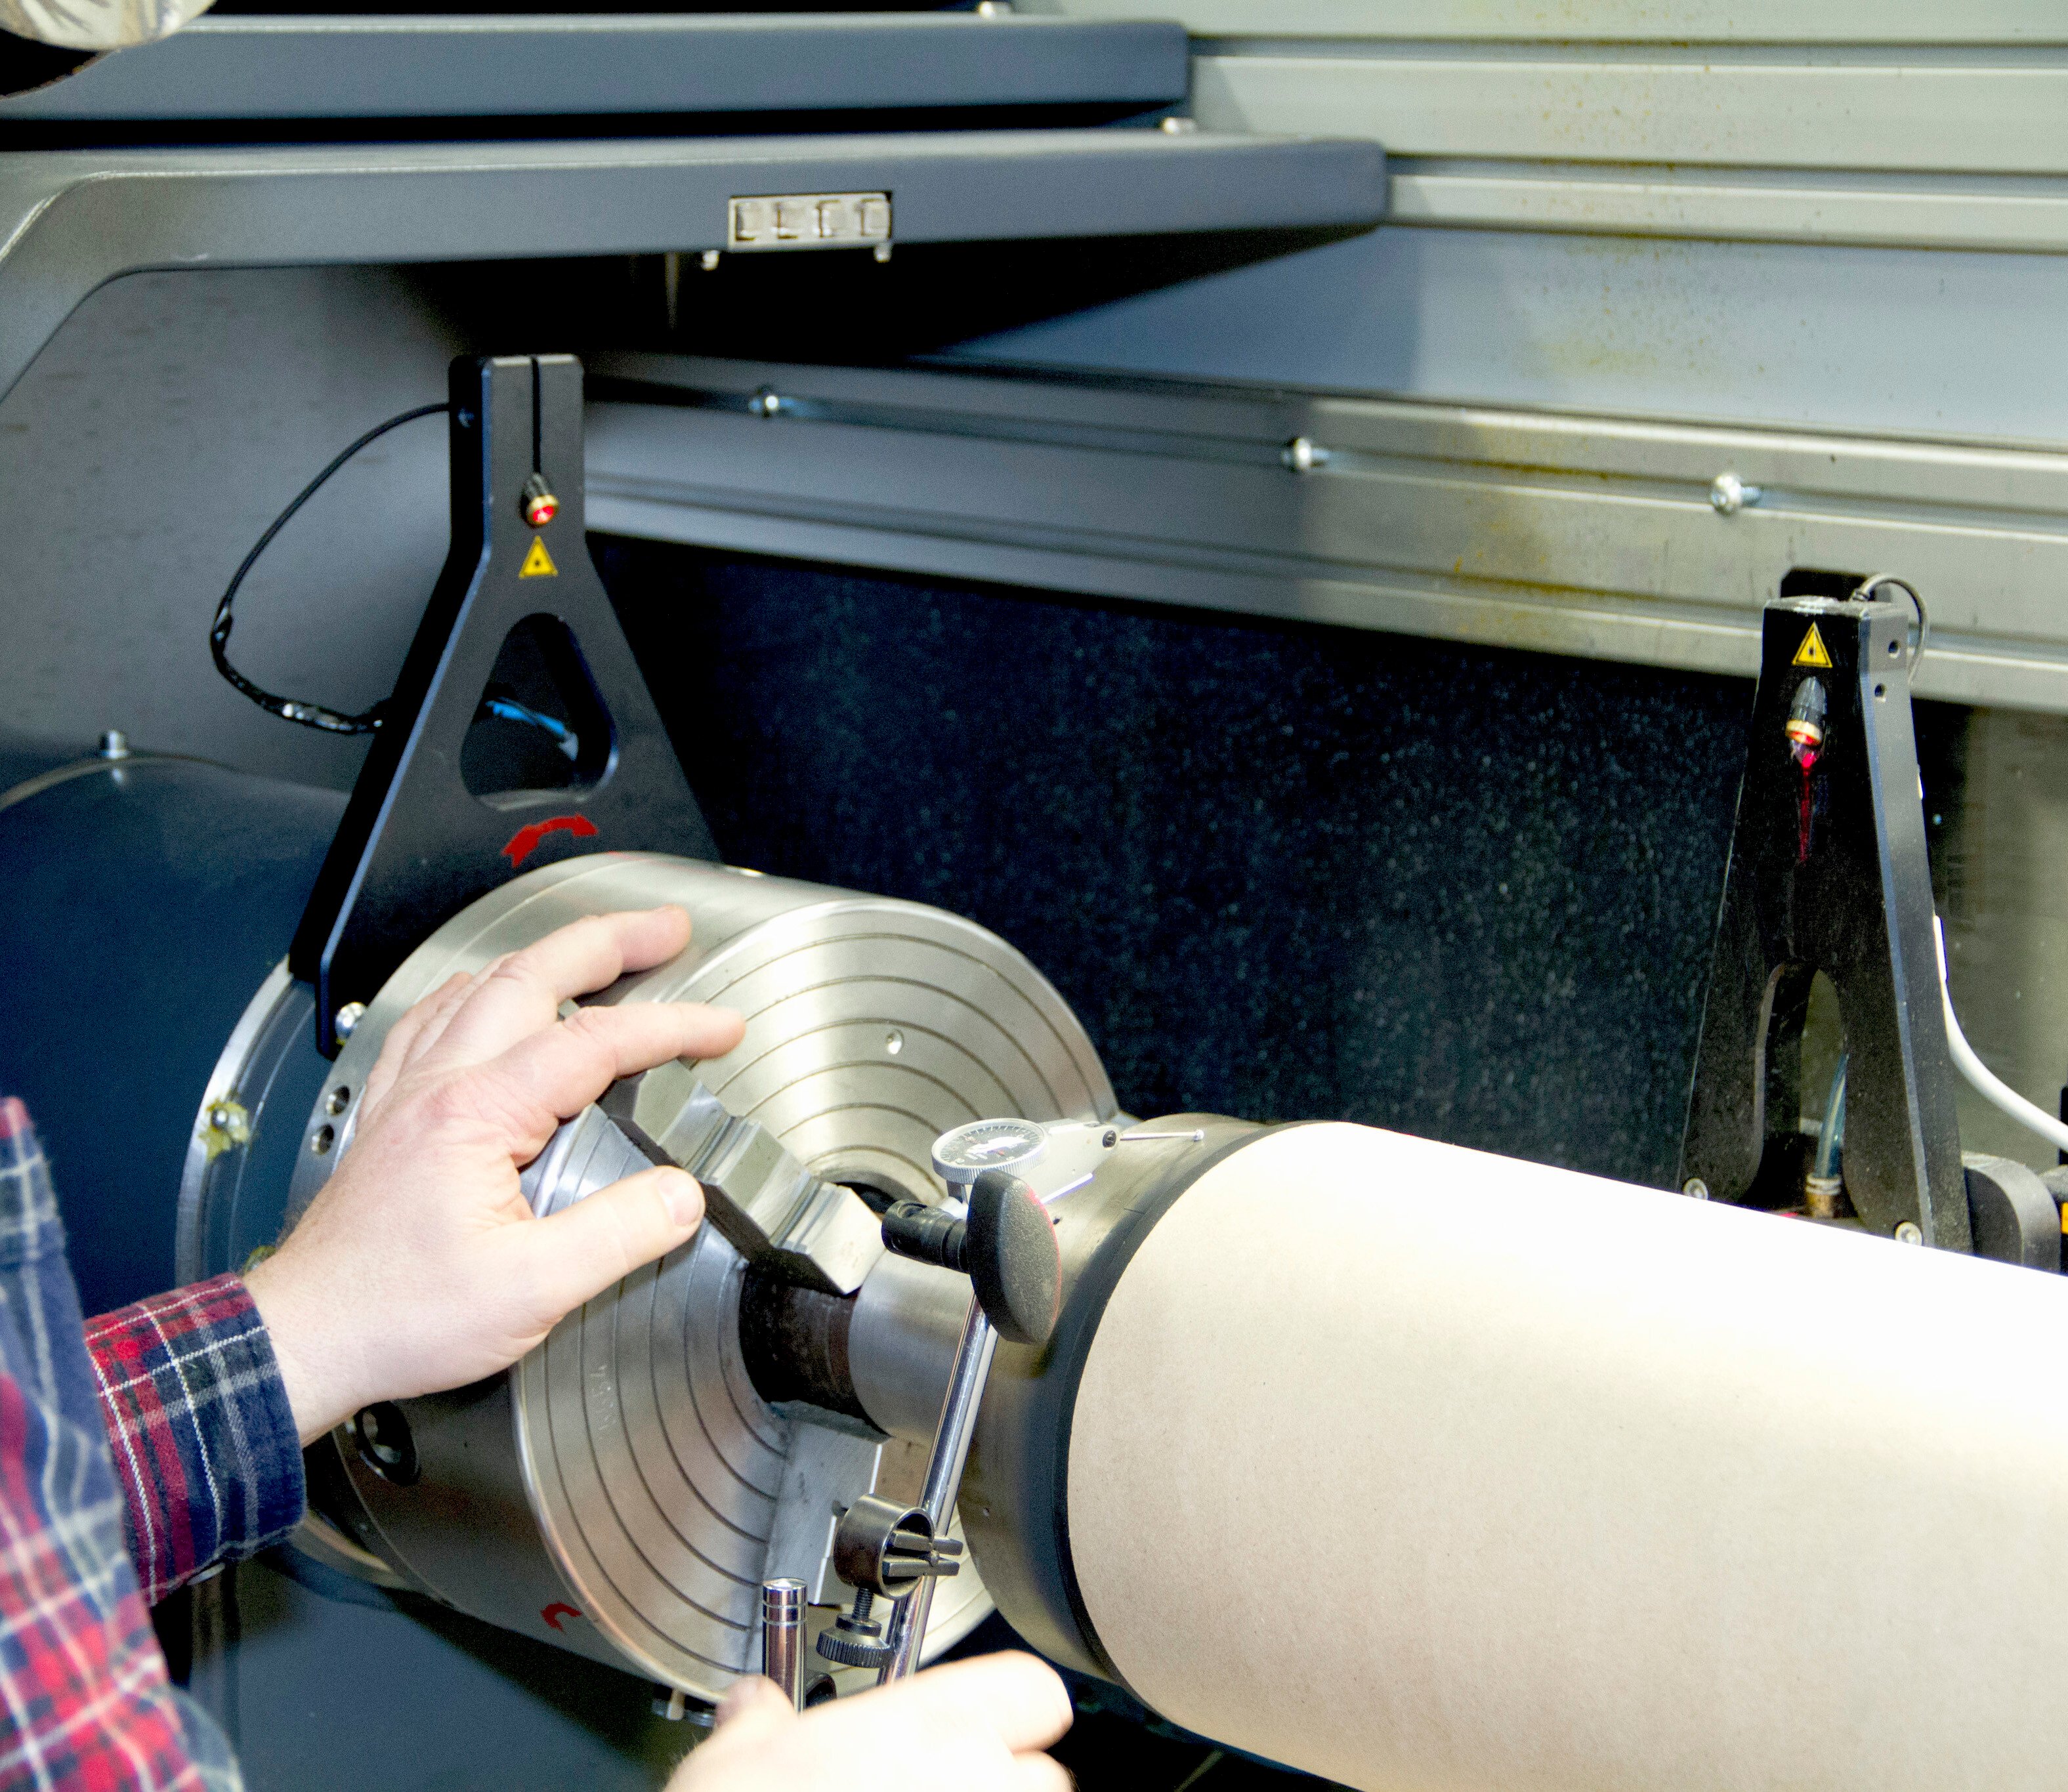
The bases are then carefully cleaned and prepared to begin the upcoming process.

STEP 3: RUBBER WRAP

Primers and adhesives are then carefully applied to the units maintaining controlled thickness specifications. There can be anywhere from 1 to 3 applications depending on the elastomer being applied.

Specified dry times between coats and before elastomer application are carefully monitored to ensure bonding integrity.

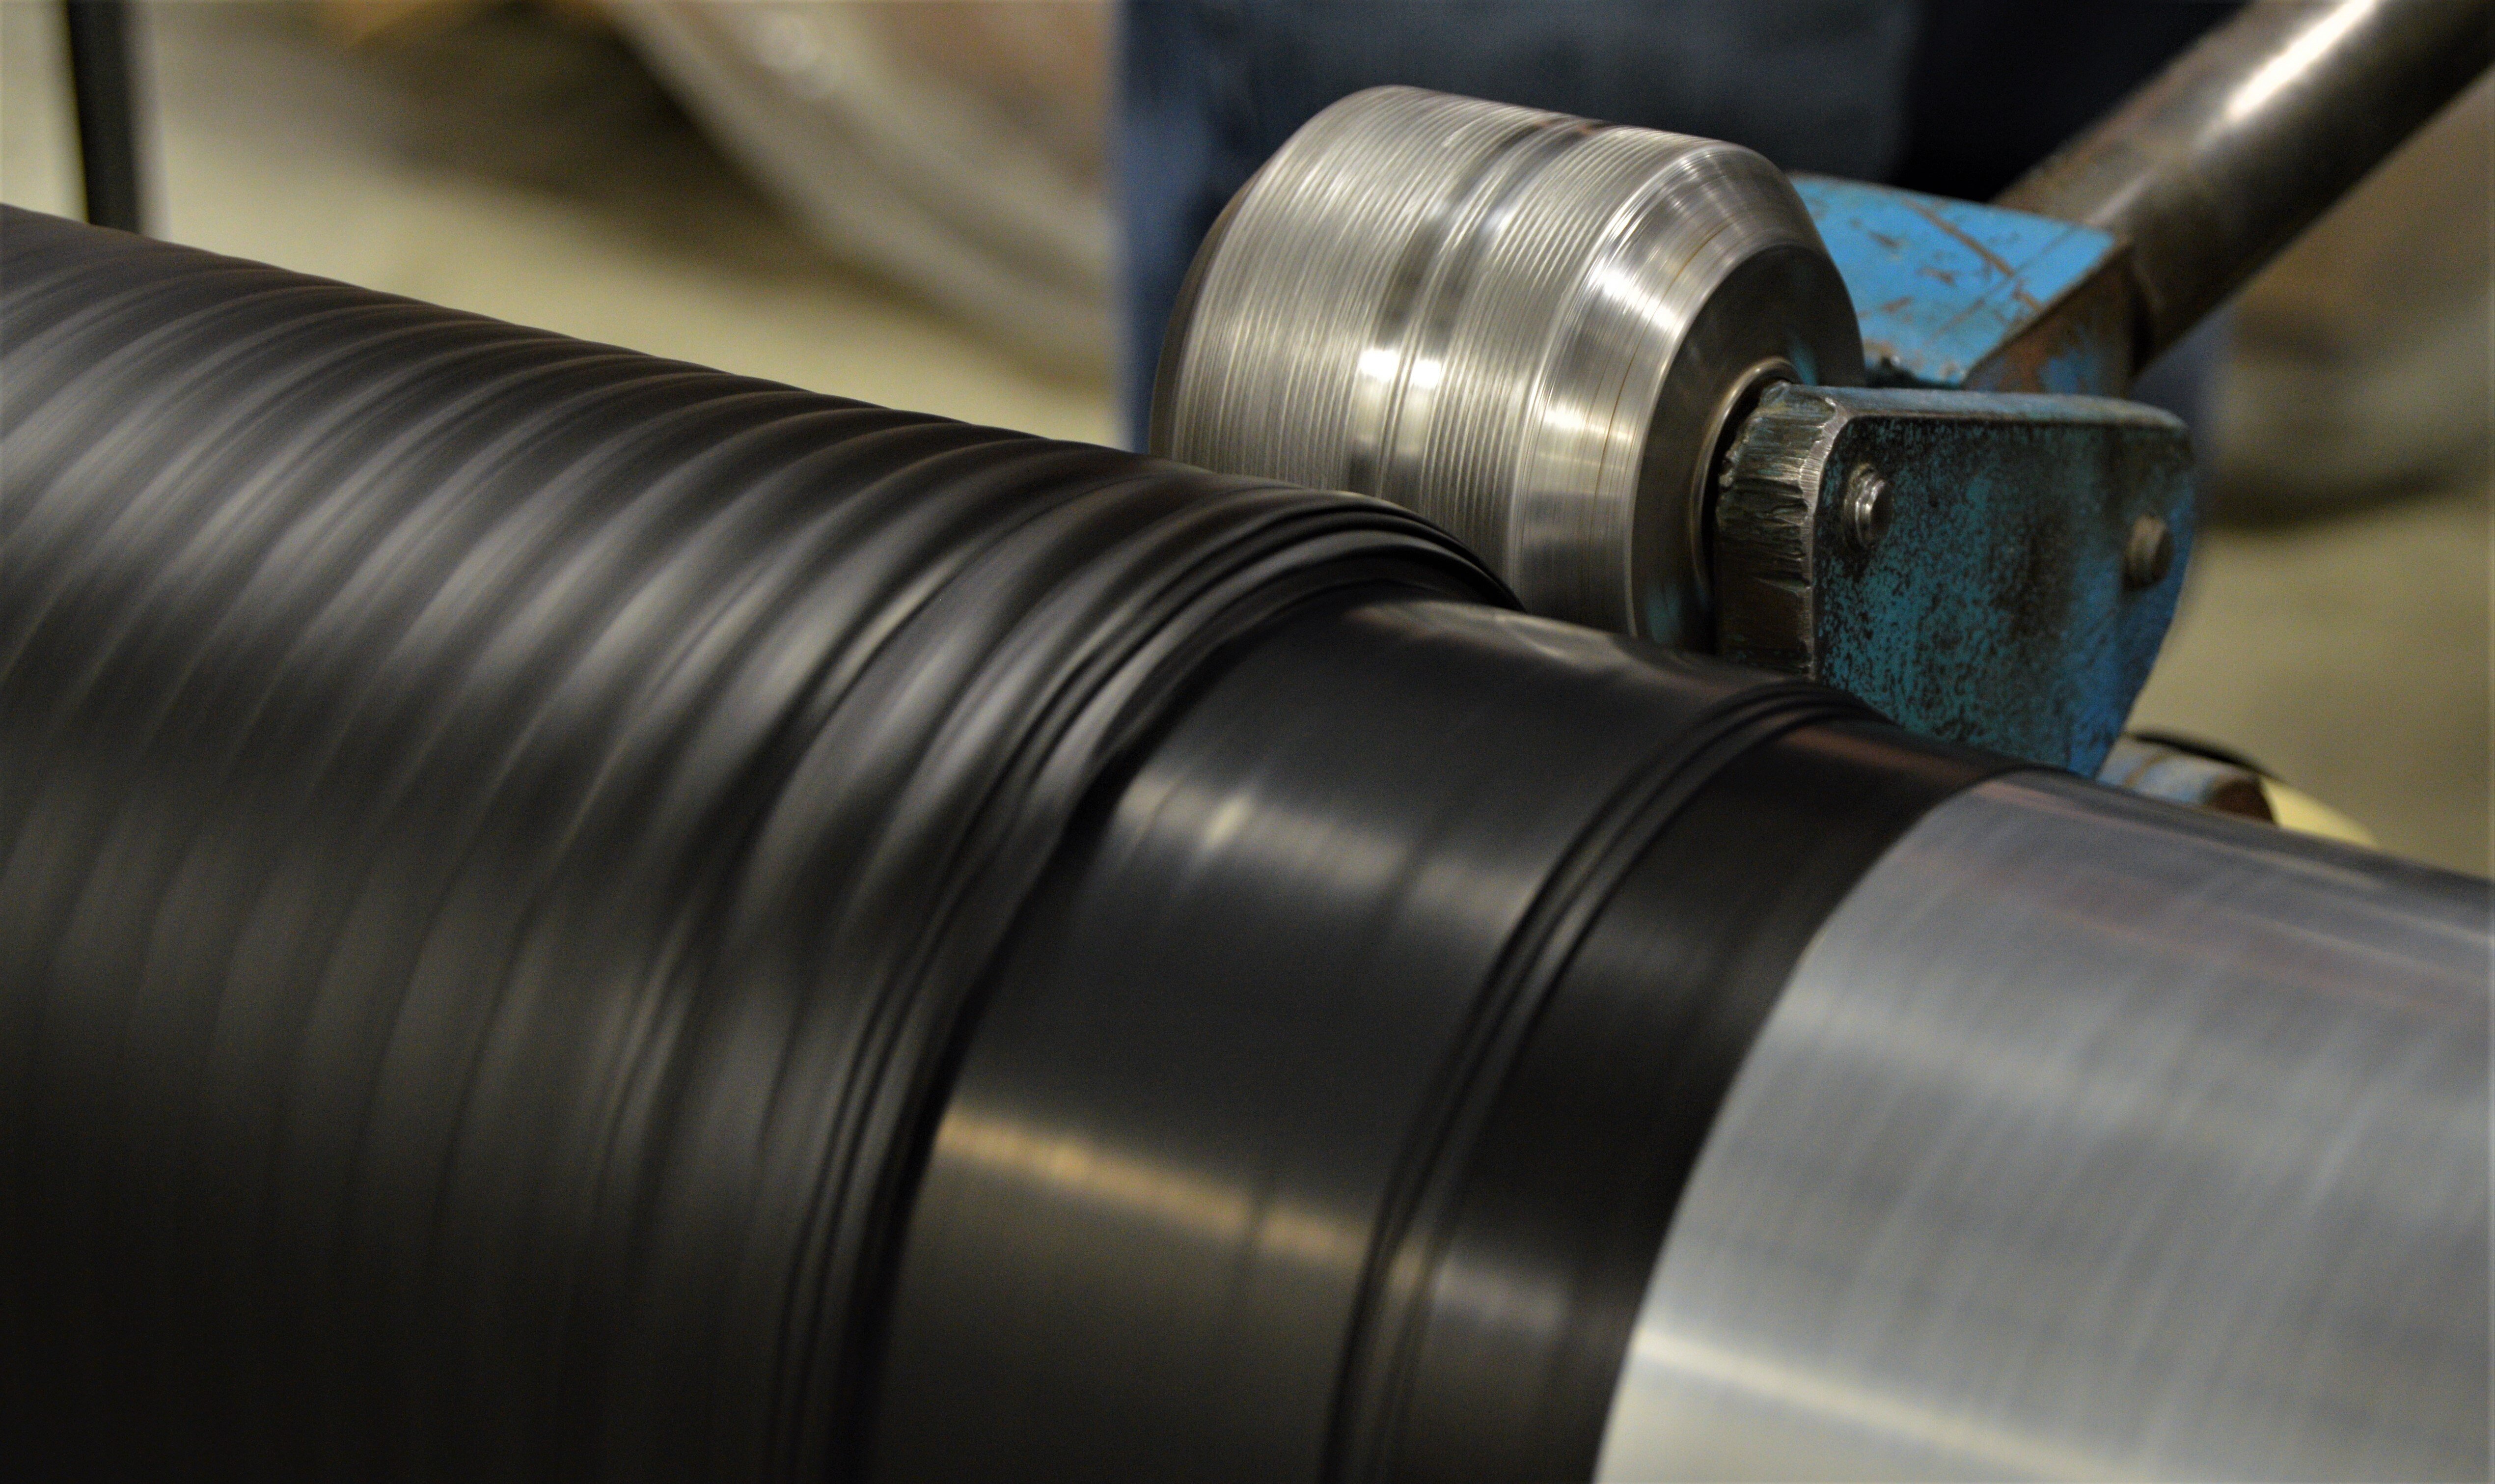
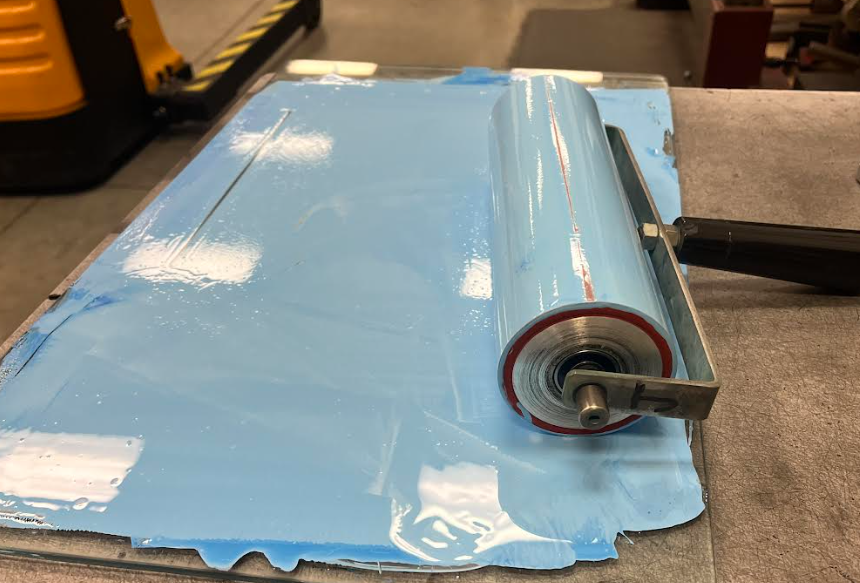
The elastomer is applied to the unit using specialized elastomer strip-building equipment. Rubber strips are fed into a machine where the rubber is heated and extruded through multiple strainer screens to ensure no contaminants are in the final product.

STEP 4: AUTOCLAVE / VULCANIZATION

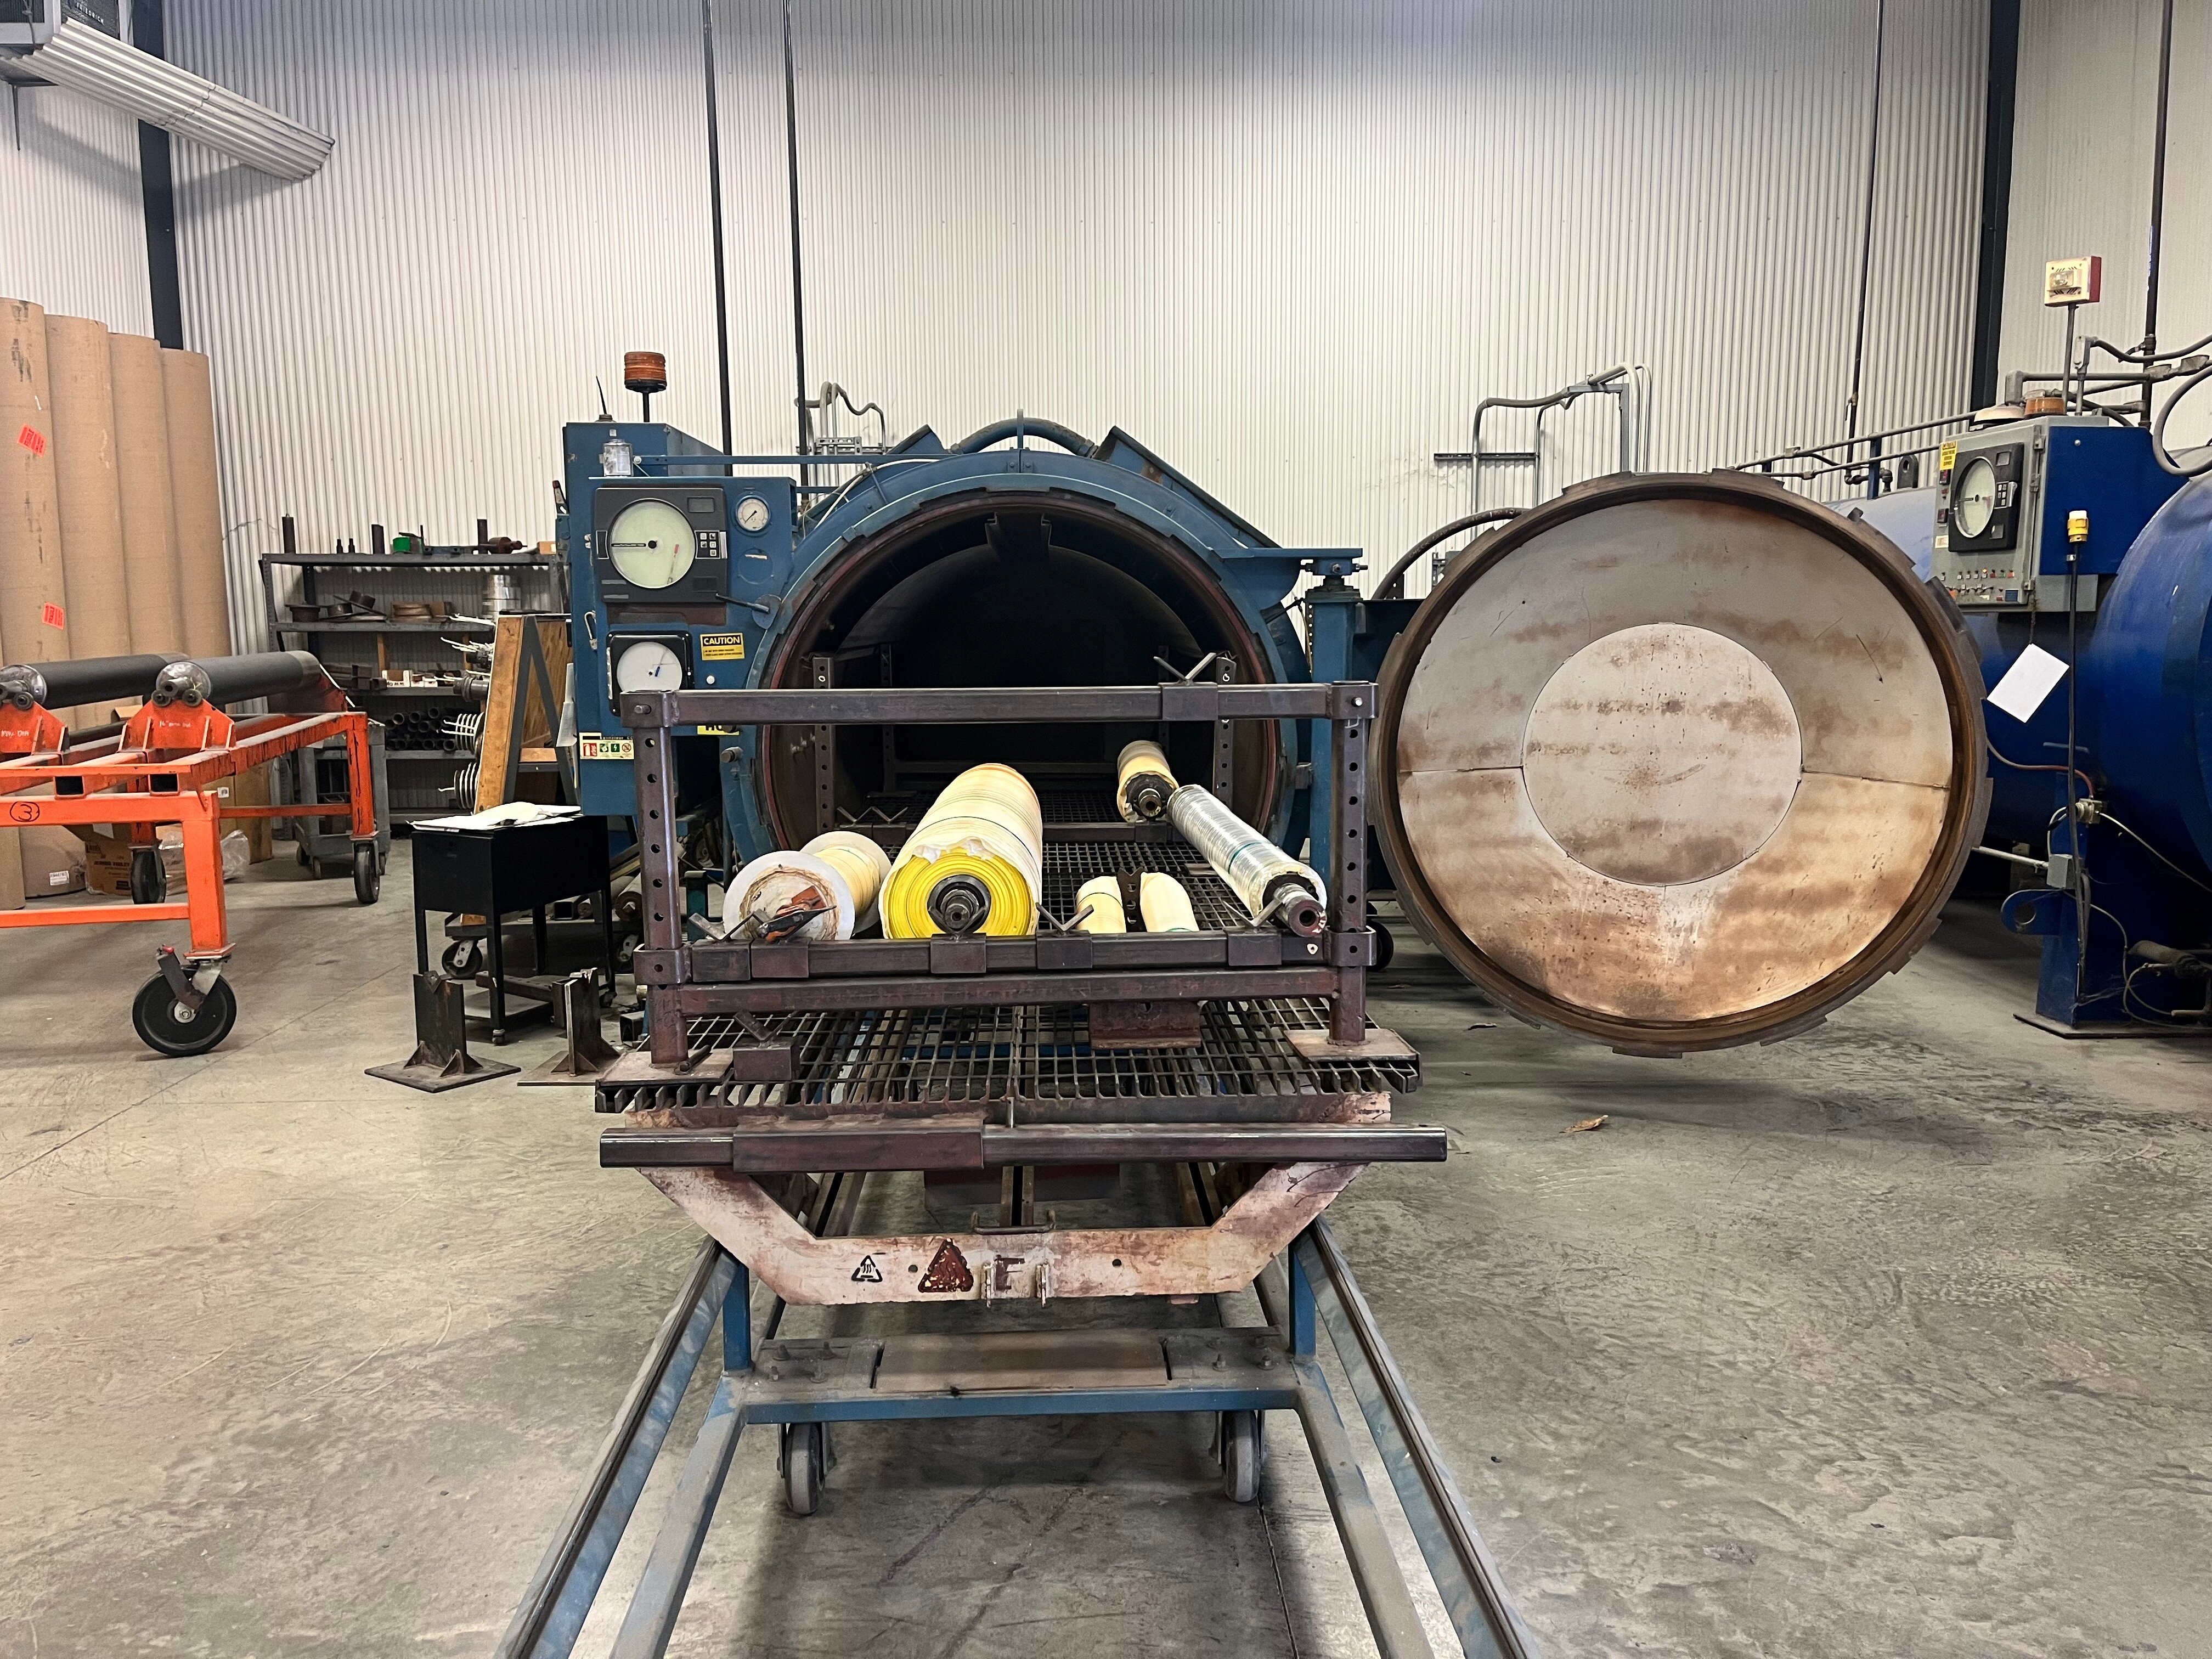
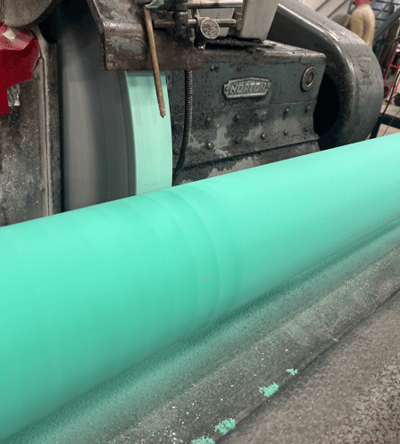
The wrapped image carrier is placed in the dry-heat autoclave for curing. During this process, all seams are removed from the surface of the sleeve.

At Luminite, we opt for dry heat to protect moisture from degrading the cylinders. Most rubbers are cured for a 24-hour period before the next steps can begin.

STEP 5: ROUGH GRIND

After the curing process is complete and rollers are cooled to ambient temperature, the vulcanizing tape is removed and rollers are rough ground or thermo-cut to a specified amount over the final finish diameter. This is dependent on the elastomer and stock removal method that was used.

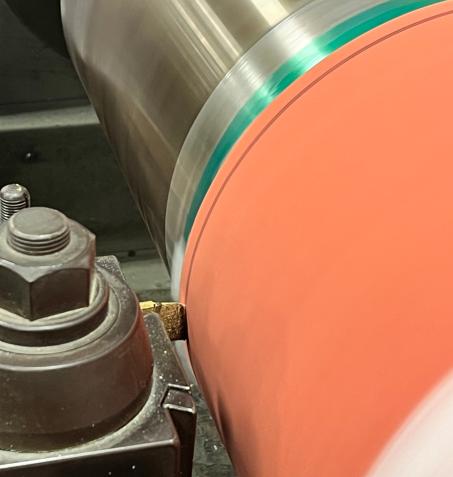
The hardness of the rubber is initially verified to be in the specification at this point in the process.

STEP 6: TRIM

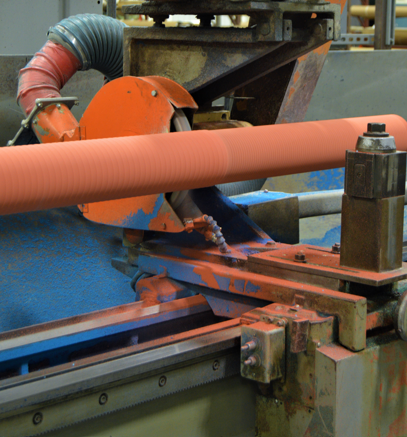
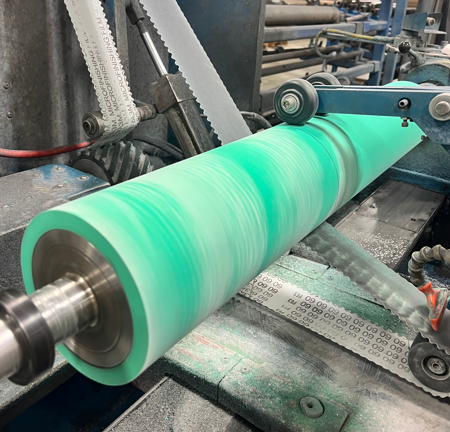
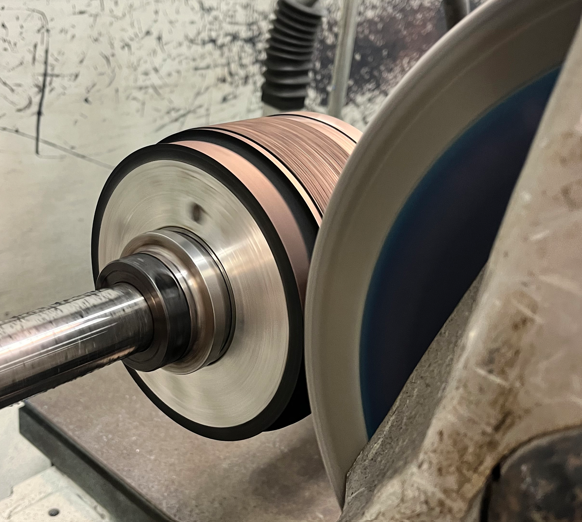
The goal of this step is to remove any excess rubber from the image carrier.

Additionally, the product is staged for finish grinding.

STEP 7: FINISH GRIND

There is a 24- to 48-hour rubber stabilization period before the final grinding.

During the finish grinding process, special attention is given to temperature control to ensure dimensional stability. We use a variety of precision tooling and specialized hardware to precisely grind off the same journal, bearing, or bore that the rollers run off of on press.

This helps to keep the most concentric rubber surface to impression roller contact possible.

STEP 8: POLISH

Once the roller is at the specified finish diameter the surface is micro-polished for a smooth consistent finish, roller after roller.

QC department monitors RA recording off the polisher on all jobs to ensure the rubber surface finishes are consistent time after time.

STEP 9: LASER ENGRAVING

In the laser engraving department, we house three digital direct laser engraving systems. They use both CO2 and Yag laser technology that can work either individually or simultaneously during the engraving process for flexographic printing.

This gives Luminite the full spectrum of ITR engraving possibilities.

STEP 10: PRINT PROOF

After the image is engraved into the roller and cleaned we start our inspection process. The first stage is to make an actual image proof of the roller.

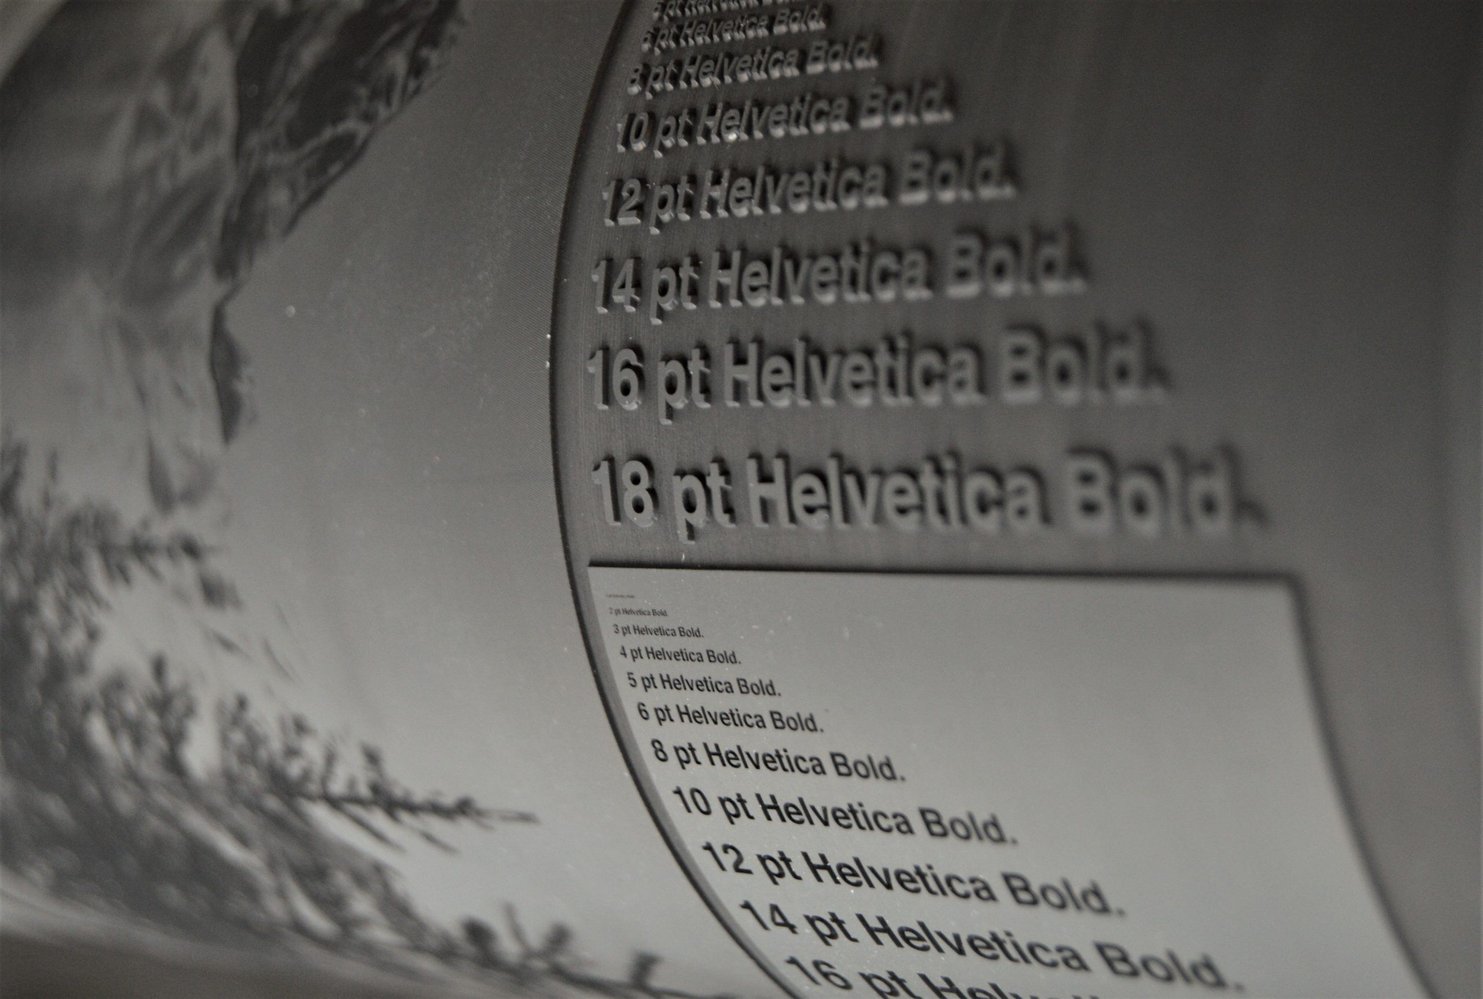
This step verifies the concentricity of the ground surface, that the roller is free of any low spots or surface defects, all engraved elements are printed and provide sharp transfer.

STEP 11: FINAL CLEAN-UP

We do a final clean-up of the roller. This removes any rubber that is not used for printing and may be left on the roller after engraving.

STEP 12: FINAL INSPECTION

Design, width, depth, and other flexographic printing defects are all checked for during this phase.

STEP 13: FINAL CLEAN-UP

When it comes to shipping the roller, it is important to focus on care and protective packaging. 
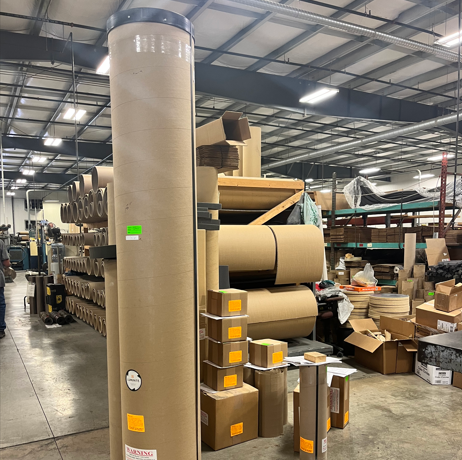
We use a variety of:
  • protective wraps
  • end shock protection
  • corrugated tubes
  • boxes
  • wooden and steel crates

Print Industry Standards

Our staff at Luminite recognize the many standards the printing industry has to meet. We find this requires regular monitoring to make note of adjustments. Likewise, efforts must change to keep up with the standards as they are presented.

Care and Maintenance to Luminite Standards

We at Luminite understand that printing products manufactured from photopolymer, while valuable for certain types of jobs, are more vulnerable to:
  • Swelling
  • Wear
  • Distortion
  • Whatever your choice, elastomer and photopolymer sleeves and plates are not invincible. They require some common-sense (and not so common-sense) care tactics while cleaning excess ink after one print job and stowing away for the next. Here are some tips that work for us for the proper cleaning, maintenance, and storage of your flexo sleeves.

    Speed is Key

    Although it might be tempting to take a break after a long printing session, waiting even a little while to begin cleaning may cause damage to your print sleeves and cylinders. You must clean the sleeves and cylinders immediately after they’re removed from the press before the ink dries and hardens. Flexographic printing depends on the durability and longevity of the elastomer sleeves, which are compromised by extended exposure to ink while not in the midst of the printing process.

    The Right Cleaning Solution

    Give your flexo sleeves and plates a good wash. Not so fast, though. It’s not a matter of just splashing on some ink-dissolving chemicals.

    Different cleaning solutions work best with different types of inks. (And some don’t require volatile chemicals at all.)

    Proper Storage

    Wait at least 4 hours before storing cleaned sleeves and plates to ensure complete evaporation of solvents and other liquids. Wrap them in a black-backed paper or film which will block ozone and UV lights that could change their physical properties.

    Storage temperature and conditions are critical:

  • Never above 90˚ F
  • Never below 32˚ F
  • Little to no humidity
  • Far from things that emit ozone, like electric motors and lights
  • care and maintenance

    Luminite’s Technical Support for Success

    From dot gain to mottled prints, flexo printing defects can arise in a variety of different forms and be caused by a variety of different issues. For press operators, the challenge is identifying where the defect is occurring, and why. That’s why working with image carrier provers with a proven track record of success is important for the longevity and success of your print runs. When it comes to defect diagnosis, the process requires finding the following:
  • The type of defect
  • Where the defect is occurring
  • Why it’s happening and what needs to be done

    After years of experience with these issues, the Luminite support staff have a real eye for defects. They know the best approach to finding a resolution as well. Here are 10 of the most common causes of defects:

    • Pressure
    • Press mechanics
    • Anilox
    • Cell volume
    • Ink transfer
    • Ink viscosity
    • Ink pH level
    • Contamination
    • Plate swelling
    • Drying speed

    Choose the Right Partner for Your Flexographic Printing Needs

    Luminite has been in operation since 1926, and our staff is more than happy to share those decades of experience with you. From our in-depth production process that prioritizes quality to our extensive knowledge of maintenance and repair, we can provide you with a quality sleeve and the knowledge of how to properly extend its lifespan.